[NuxtJS] Nuxt 기반 프로젝트 생성방법
vuejs를 기반으로 프로젝트를 생성을 하면 매번 router에서 component 를 선언하고 있어야 불러와서 사용을 할 수 있습니다.
하지만 NuxtJS 기반으로 프로젝트를 만들면 router의 압박에서 벗어날수 있다고 해서 프로젝트를 생성하는 방법을 한번 정리해 보았습니다. npx create-nuxt-app
cli를 이용한 프로젝트 생성
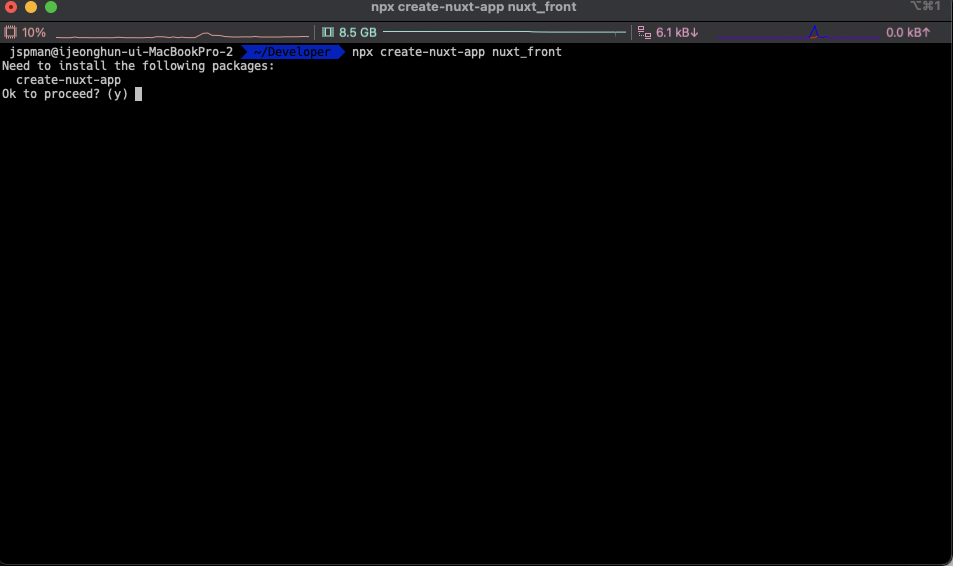
Y를 클릭을 하면 다음과 같이 나옵니다.
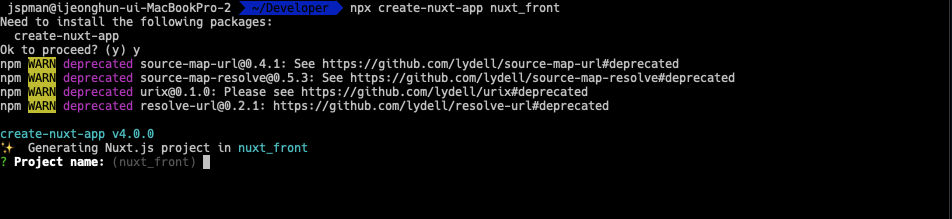
1. 프로젝트 명 지정
2. Programming Language 선택
=> javascript or TypeScript
3. Package Manager 선택
=> Yarn or Npm
4. UI framework 선택
None
Ant Design Vue
BalmUI
Bootstrap Vue
Buefy
Chakra UI
Element
Oruga
Primevue
Tachyons
Tailwind CSS
Windi CSS
Vant
View UI
❯ Vuetify.js
5. Nuxt.js module 선택
◉ Axios - Promise based HTTP client
◯ Progressive Web App (PWA)
◯ Content - Git-based headless CMS
6. Linting tools 선택
◉ ESLint
◯ Prettier
◯ Lint staged files
◯ StyleLint
◯ Commitlint
7. Testing framework 선택
❯ None
Jest
AVA
WebdriverIO
Nightwatch
8. Rendering mode 선택
❯ Universal (SSR / SSG)
Single Page App
9. Deployment targer 선택
Server (Node.js hosting)
Static (Static/Jamstack hosting)
10. Development tools 선택
◯ jsconfig.json (Recommended for VS Code if you're not using typescript)
❯◉ Semantic Pull Requests
◯ Dependabot (For auto-updating dependencies, GitHub only)
11. Continuous integration 선택
❯ None
GitHub Actions (GitHub only)
Travis CI
CircleCI
12. Version control system 선택
Git
None
위와 같은 것들을 선택을 하고 나면 정상적으로 프로젝트가 생성이 됩니다.
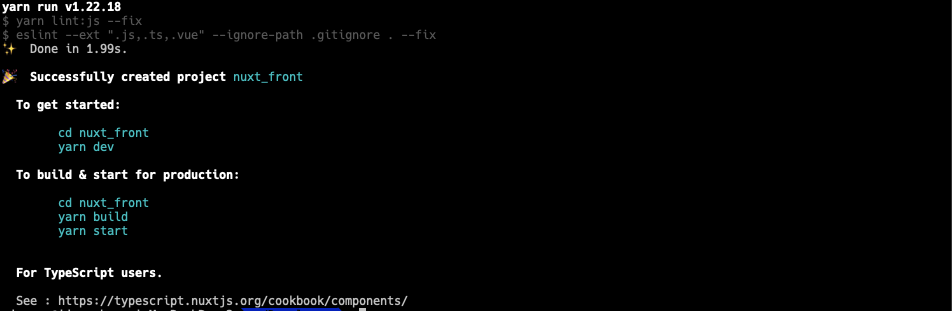
Nuxtjs 실행
친절한 문구를 따라서 yarn dev 를 실행을 해보면 아래와 같이 보입니다.
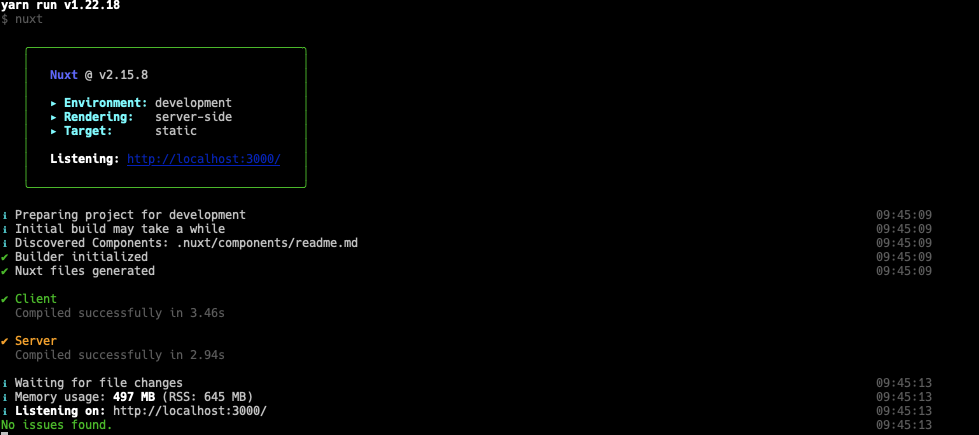
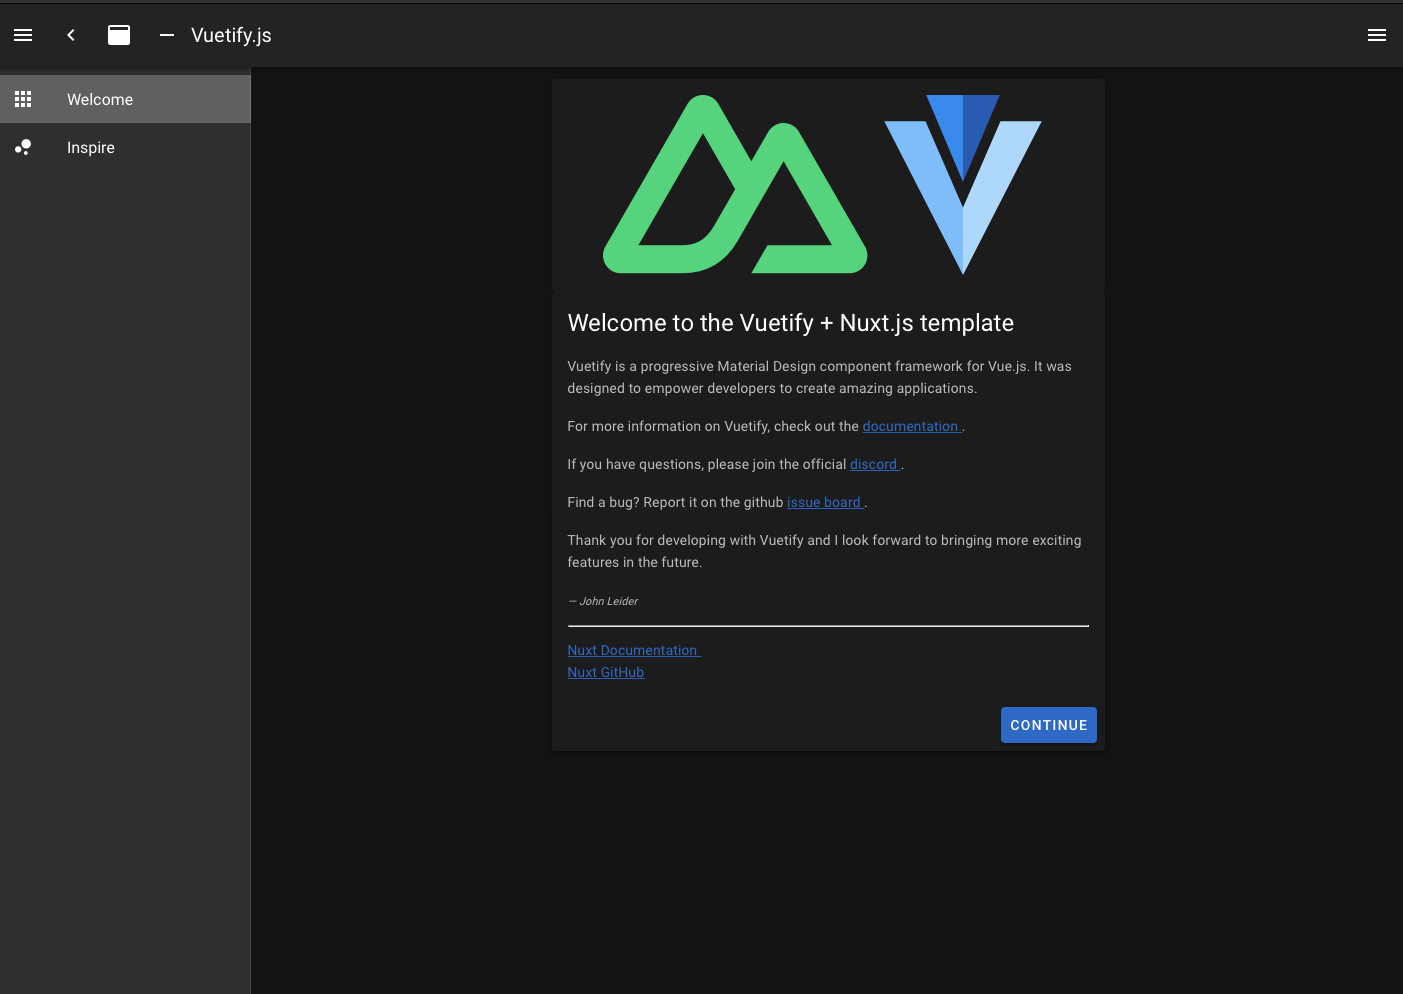
브라우저에서 실행된 화면은 아래와 같습니다.
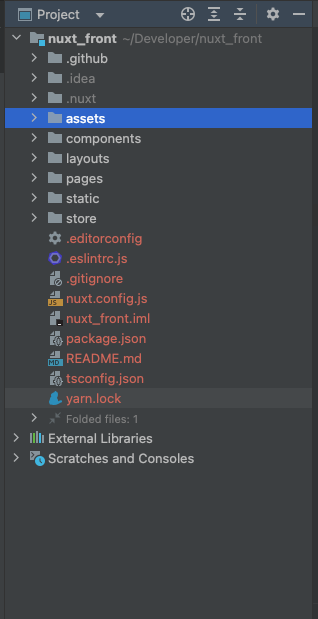
생성된 소스구조는 아래와 같습니다.
위의 프로젝트에 이제 새로운 프레임워크를 만들어서 팀원들과 공유할 예정입니다.
Nuxtjs와 관련해서 새로운 것들을 알게되면 다시 포스팅을 하겠습니다.
'개발관련 > VUE JS' 카테고리의 다른 글
| [Vue.js] Axios Interceptor 적용 (0) | 2022.09.27 |
|---|---|
| [VUE]vee-validate 사용방법 (0) | 2022.08.22 |
| [VUE] no-unused-vars 에러 문구 해결하기 (0) | 2022.08.12 |
| [VUEJS] 공통함수 만들고 적용하는 방법 (0) | 2022.05.26 |
| [vuejs] v-for와 v-if를 같이 쓰면 에러발생 오류 해결하기 (0) | 2022.05.20 |
